These instructions are aimed at the end-user who has just purchased a building that included a Union Micro elevator pre-installed. These instructions will be quite brief due to the fact that most of the dirty work has already been done – you just have to touch a few buttons to get everything working.
- First things first – you need an Elevator Unlocker to activate your elevator. You may purchase one of these at Union Micro if you don’t already have one. If you need help with the Elevator Unlocker, please see the Elevator Unlocker instructions.
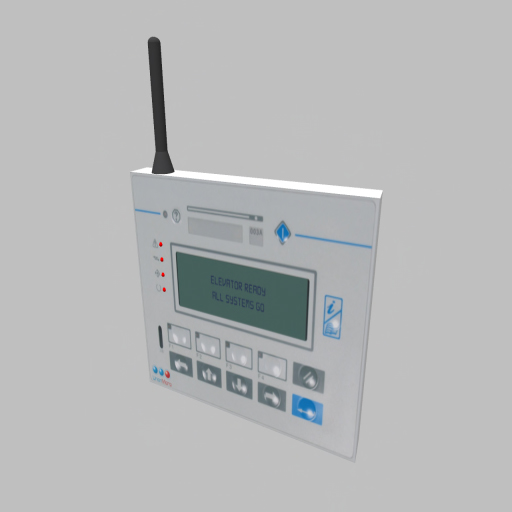
- After you’ve input your serial number into your elevator car, you will need to find out where the builder has positioned the elevator controller in the building.Elevator controllers look like this (assuming the builder has not modified it):

- After you’ve found the controller, simply touch it to bring up its menu. From the menu choose “Hard Reset” – this will reset all of your elevator parts in case anything odd has happened to them while being rezzed and positioned. You should see a white progress bar appear on all of your elevator parts. Wait until the doors on each floor have finished loading before proceeding to the next step.
- Touch your controller again and this time choose “Install” from its menu. Assuming the builder has positioned everything properly, your serial number is valid, and there are no stray prims in the shaft, everything will load their settings and the car should move to the ground floor.
If you encounter any problems you should contact the builder of the building and not Union Micro. The building creator is always the first point of contact as generally most elevator issues are due to positioning. You may contact Union Micro if you’re referred to us by the building creator. You may also wish to look at the complete v2 installation instructions if you’d like to try and fix it yourself.